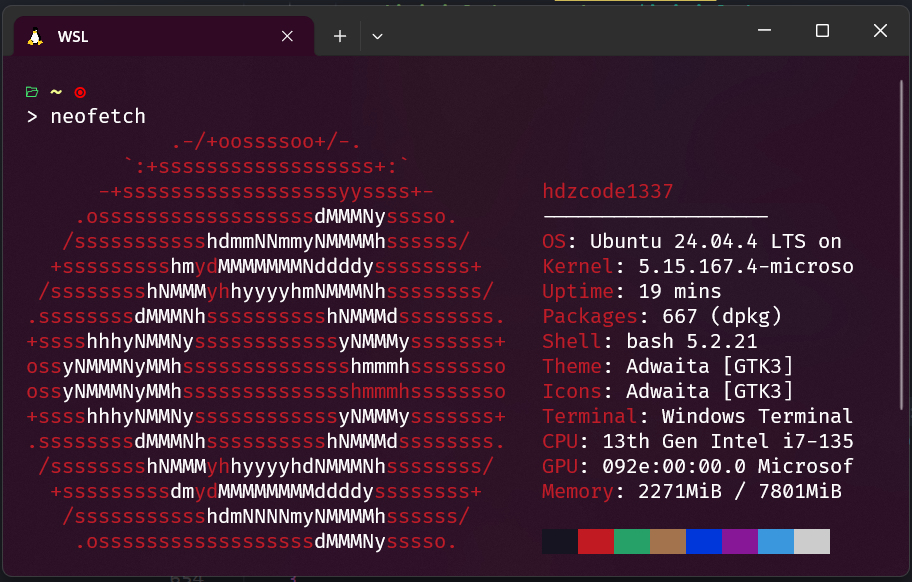
One of my hobbies is exploring customization. In my previous post, I wrote about customizing your Spotify client tweaking the UI and even adding an ad-blocker. This time, I want to share how to customize your terminal with Oh My Posh.
Oh My Posh is a customizable and fast prompt engine that works with any shell you use daily. It supports Windows Terminal and Linux. In this post, I'll walk through the setup using WSL (Windows Subsystem for Linux), since that's what I use every day.
If you're on a different OS, check the official docs:
- Windows: https://ohmyposh.dev/docs/installation/windows
- macOS: https://ohmyposh.dev/docs/installation/macos
- Official docs: https://ohmyposh.dev/docs/
Step 1 Install Oh My Posh
Run this script inside your WSL or Linux terminal:
curl -s https://ohmyposh.dev/install.sh | bash -sThis installs the binary to
~/.local/binby default. To use a custom location, use the-dflag:curl -s https://ohmyposh.dev/install.sh | bash -s -- -d ~/bin
Step 2 Verify the Installation
oh-my-posh --versionGetting a command not found error? Add ~/.local/bin to your PATH:
export PATH=$PATH:~/.local/binThen test again:
oh-my-posh --versionOnce it works, make the change permanent by adding it to your .bashrc:
nano ~/.bashrcScroll to the bottom and add these two lines:
export PATH=$PATH:~/.local/bin
eval "$(oh-my-posh init bash)"
Save and exit: Ctrl+X → Y → Enter
Then reload your config:
source ~/.bashrcYour terminal is now using Oh My Posh's default theme but you'll likely notice broken symbols. That's because Oh My Posh is designed to use Nerd Fonts.
Step 3 Install a Nerd Font
- Browse and download a font from nerdfonts.com
- Install the font on your system
- Open Windows Terminal Settings → select your WSL profile → scroll down to Appearance → change the Font Face to the Nerd Font you installed
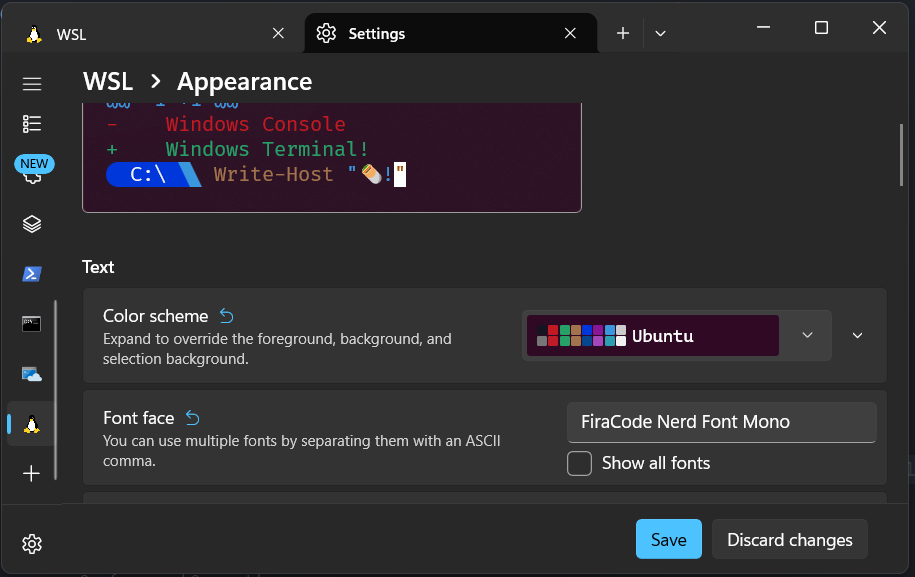
After installing the font, the prompt icons and glyphs should render correctly.
Step 4 Apply a Theme
Browse the full theme gallery here: https://ohmyposh.dev/docs/themes
List available built-in themes:
ls ~/.cache/oh-my-posh/themes/Preview a theme without saving it:
oh-my-posh init bash --config ~/.cache/oh-my-posh/themes/{THEMENAME}.omp.jsonApply a theme permanently:
Open your .bashrc:
nano ~/.bashrcFind the existing Oh My Posh line and update it, or add a new one at the bottom. For example, to use the paradox theme:
eval "$(oh-my-posh init bash --config ~/.cache/oh-my-posh/themes/paradox.omp.json)"Save and exit: Ctrl+X → Y → Enter
Reload the config:
source ~/.bashrc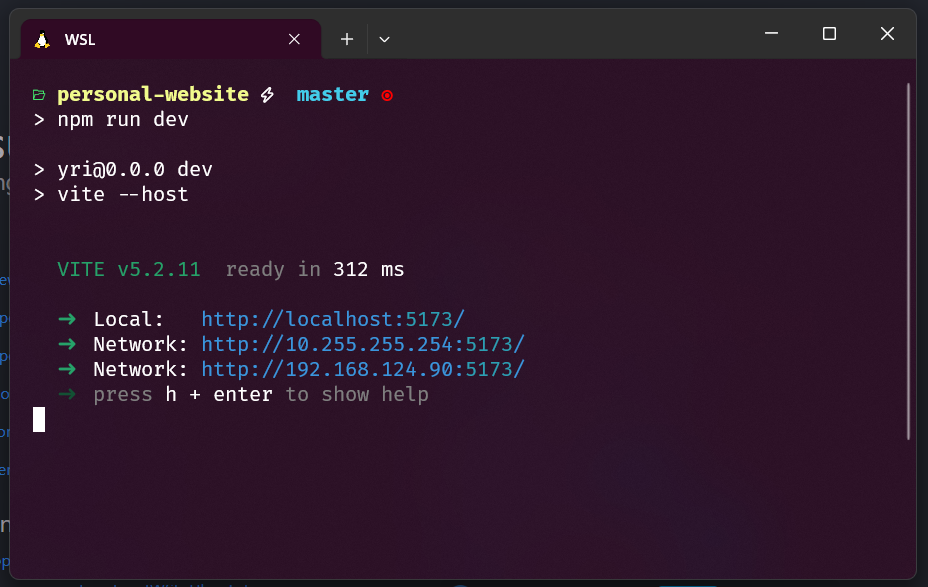
You're All Set! 🎉
Your terminal is now fully themed with Oh My Posh. From here, you can:
- Switch between themes by updating the config path in
.bashrc - Customize colors in Windows Terminal settings
- Try different Nerd Fonts to find the one you like best
Happy customizing!